2017-2018
 The first step for this project was to take four pictures of myself in different poses. The next step was to place all of the pictures in photoshop in different tabs. I had to erase the background for all four of my pictures. After I erased them separately, I placed all of my pictures in one document. In order to choose the right colors, I went to the color map and I started out with cyan, then I went to magenta, third I picked yellow, and the K stood for gray. In the filter gallery, I went to sketch and the type of filter that is used for all four pictures is called halftone pattern. I rearranged my pictures the way I wanted and it looked good in the end.
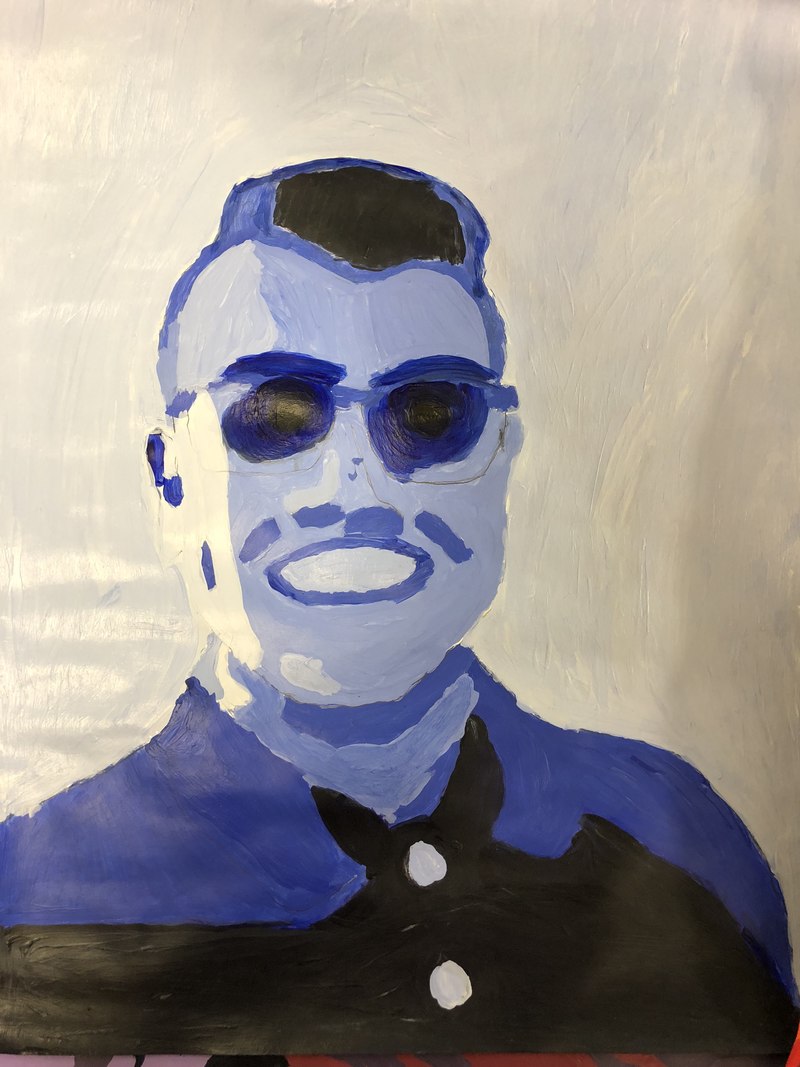
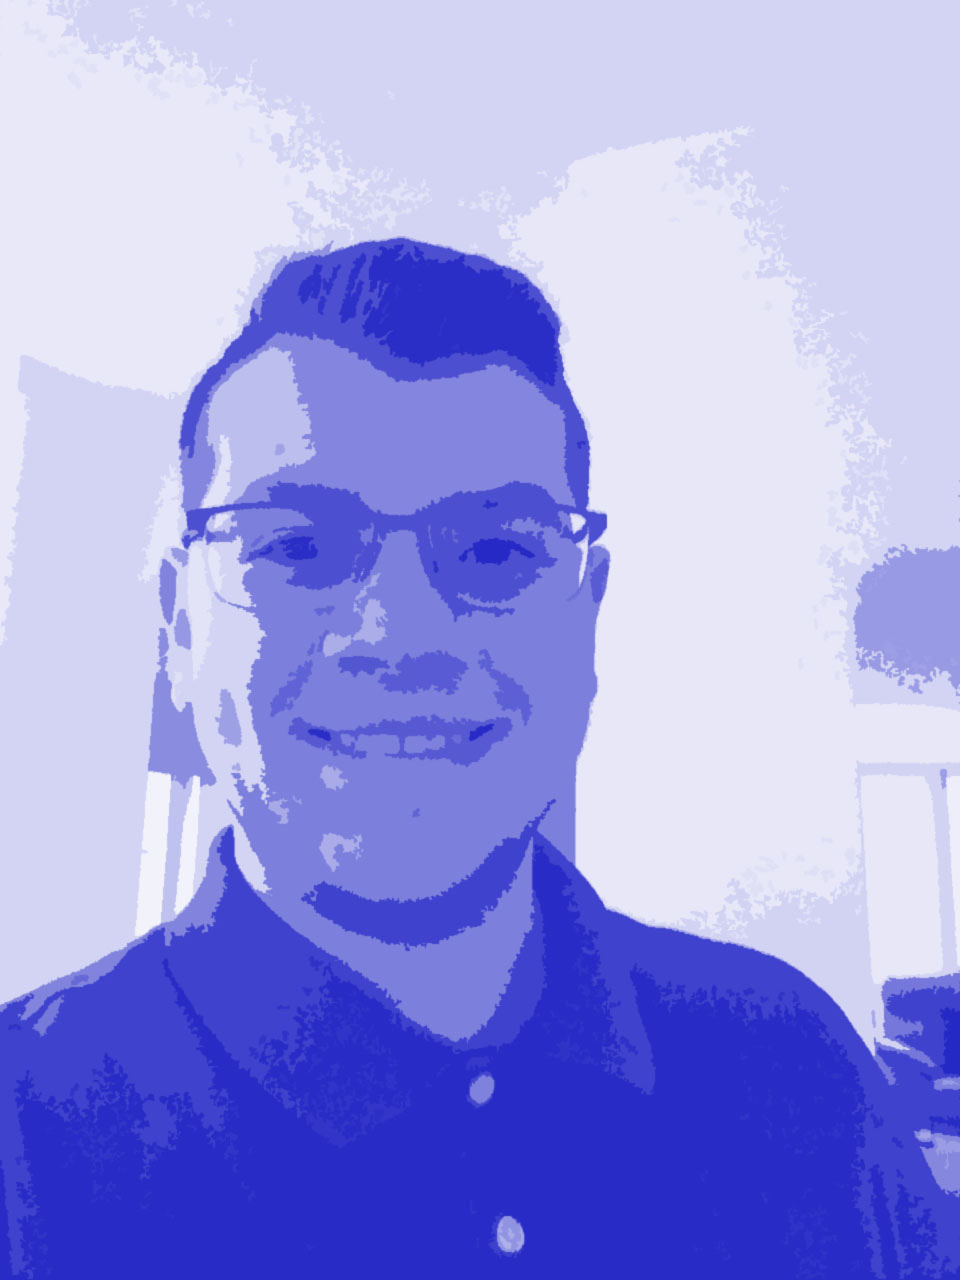
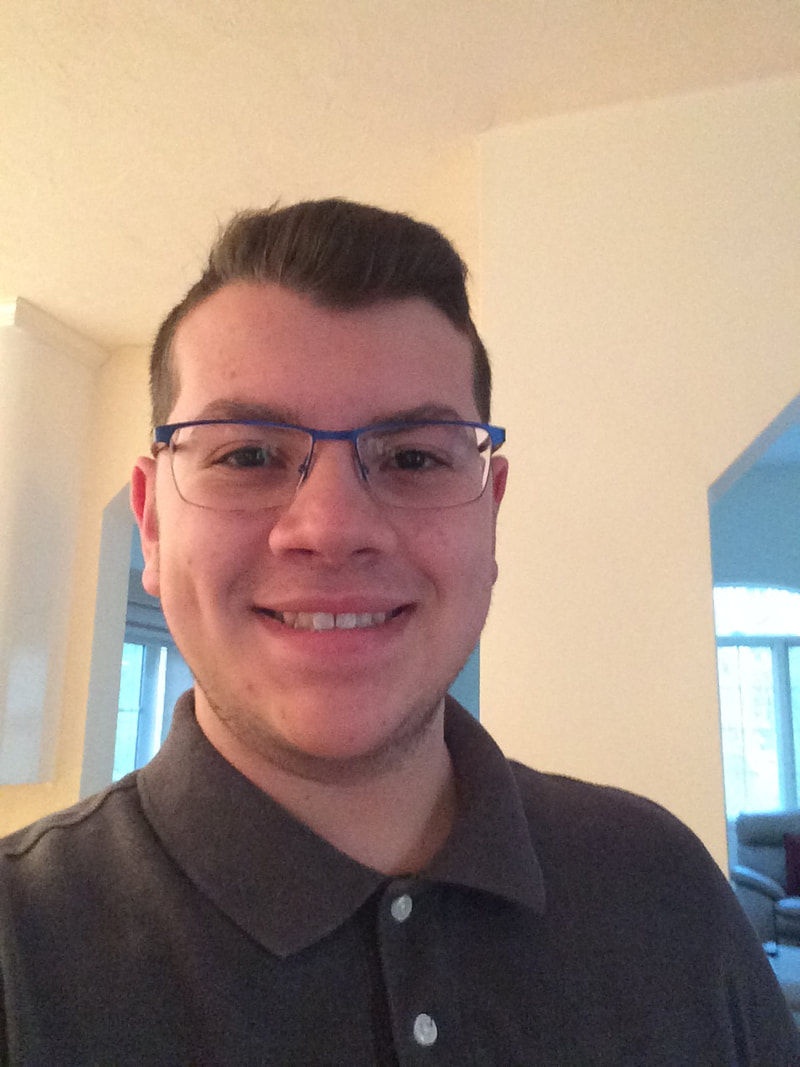
The first thing that i had to do for this project was to take a selfie. This picture was the one that i thought looked the best and the next step was to put it in Photoshop. We all had to do a color scheme that we liked and i liked the blue theme. After i was done making edits, i took a screenshot of it. The next step was to trace the photo when she projected it. When we were getting ready to paint, we had to decide where the shades of colors should go. We picked a number for each shade and we wrote the numbers on the painting in specific areas. We painted the shade in the spot where we wrote the numbers for that specific shade. In the end, the painting looked like the original photo. There are also many other examples like this in the real world.
|